Why you should try this Fat-burning Chicken
Honestly, I write this for my UPS part-time co-workers, for myself, and for who is the building muscle beginner.
It’s a short story and the root reason is I want to help my UPS part-time co-workers. UPS has been hired me as the part-time unloader/loader for more than 2 years. I have been seen some people come and leave. It can’t blame them since the job is hard for their bodies.
In the beginning, I’m also in their position. The first task I do as the UPS is the unloading all the packages inside the 18-wheel from UPS Canada -> go to the border-> enter this hub-> prepare to go to the Portland Hub and Seattle Hub. At the time, my team leader just says simply: unload the packages and put it on the bel.
Automatic, my body uses all the upper body to do the task. After 6 months, my body starts to have some injury signs. That is the time I change the method.
I need to do something different to protect the bone, the joint.
Thus, I remind my body that uses the arm muscle. Not the shoulder and the shoulder-arm joint to produce some forces in order to lift the package on the ground.
Since then, I usually remind myself of using the arm muscle. Slowly, I change my eating habit. Extra practice push-up at home before going to sleep. And now, with my arm muscle, I can lift and low some heavy packages by myself. Actually, that task is violence with UPS regulation because they say team lift for packages over-70 lbs.
However, in reality, under time pressure, team lift over-70 lbs packages will stop the bell flow and might jam.
After all, I realize only building the arm muscle is the way to improve my teamwork quality. Unfortunately, I am not a team leader. I don’t have the authority to suggest to the higher rank to create a real eating habit for all UPS unloaders and loader in the USA nationwide.
I am the youngest in my team so whatever I say, they don’t listen!
I have heard one senior teammate laments the body is sore, the body is hurt, the body is tired. That teammate needs to inject some medicals for the hip pain just around one month ago.
*sigh* Using the arm muscle for unloading, loading is better because the muscle can restore after a rest, after consuming some food. Using a whole bone system and joint… are hurt for the body.
Protein is the must-have for the daily workout. I observe my teammate just eats their favorite snack. They don’t pay attention to the Protein amount inside their food. They just eat what produces calories. Those snacks are low-protein. I check 7 grams protein is the max. With that low-protein intake…
Ingredient prepare for 6 servings
With this fat-burning chicken recipe, you can use it for breakfast or for lunch. I know besides the chicken breasts, there are more protein sources from meat such as pork, ham, beef, and turkey. All the muscle-building diet, chicken breast is the old-school choice.
You will need:
- 6 oz boneless, skinless chicken breasts (about 170 grams chicken breast)
- 1/4 cup (60 ml) oat bran
- 1/4 cup (60 ml) wheat germ raw
- 1/4 cup (60 ml) coarsely ground almonds
- 1/16 cup (15 ml) coarsely ground flaxseed
- 1/2 teaspoon sea salt
- 1/2 teaspoon pepper (it depends on your choice: white pepper or black pepper or other choices)
- Pinch garlic powder
- 1 large white chicken egg (if you crave more, you can use more than one egg)
- 1/2 cup water (optional)
The Orginal routine from Anabolic Muscle building cooking book
Step 1: Preheat your oven to 400 Fahrenheit degrees.
Step 2: Prepare the baking sheet
Step 3: Lining, coating the baking sheet with cooking oil ( you can use the corn oil, olive oil, coconut oil) or parchment paper -> and then set on the sides

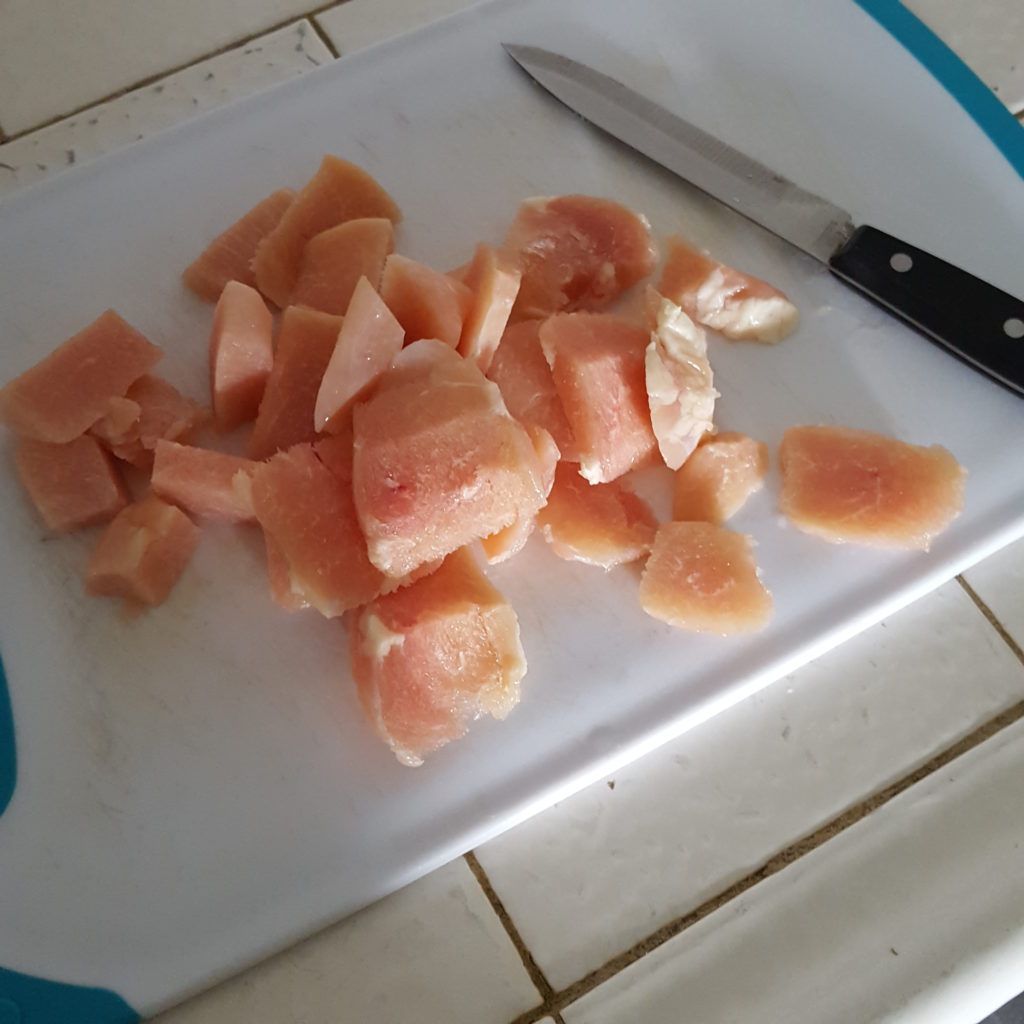
Step 4: Cut the boneless, skinless chicken breasts into a smaller size. In the Anabolic Muscle building cooking book, he suggests to cut it into 1.5 inches long which is the nugget size in the fast-food restaurant.
Step 5: Put the cut chicken breast nugget size into a bowl-> Adding sea salt, pepper, and a few pinch garlic powders-> mix together for the meat marinates. -> leave it in a corner.
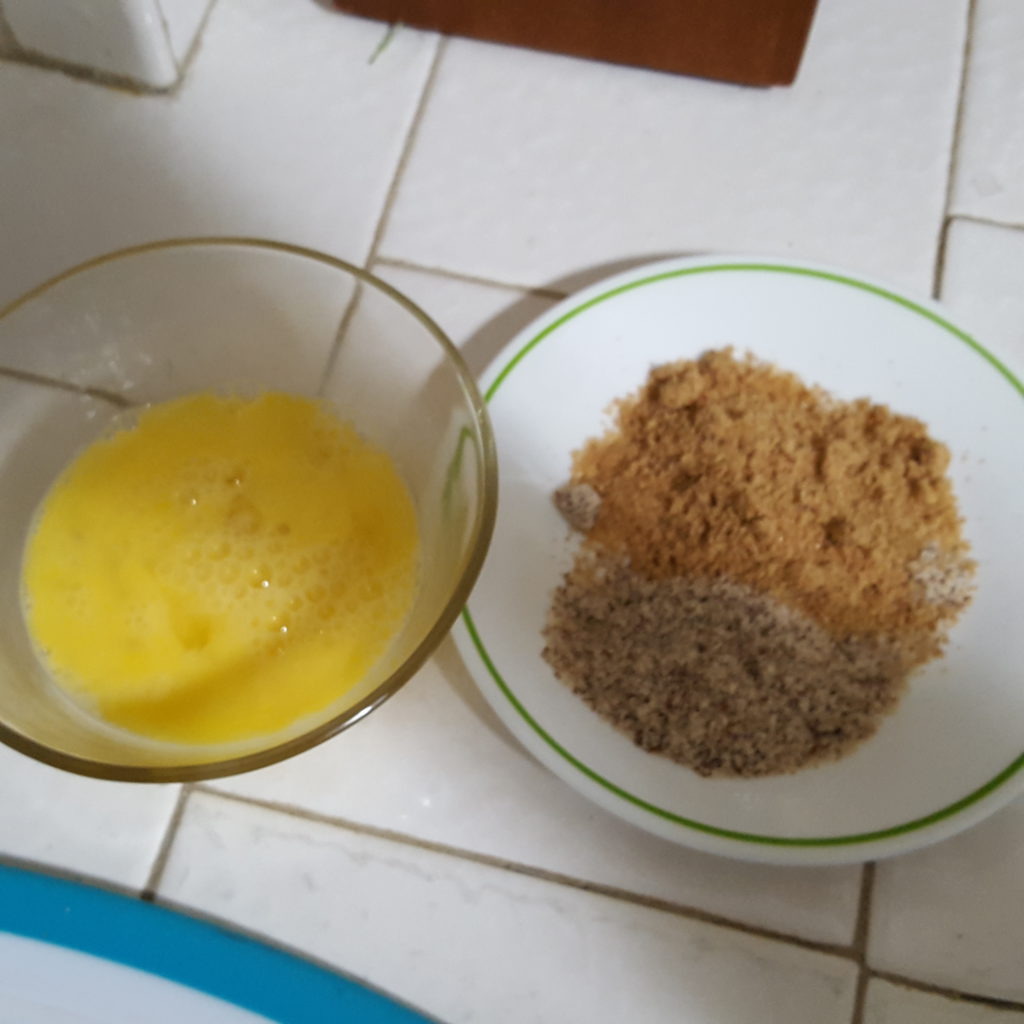
Step 6: Take a big bowl-> adding the dry ingredients: oat bran, wheat germ raw, ground almonds, ground flaxseed-> mix well together. -> set on one side
Step 7: Take a small bowl-> crack the egg into the small bowl-> if you want to try, you can add 1/2 cup water into the egg. If not-> you just stir well the egg until it’s yellow texture.

Step 8: If you could, place all the ingredients and the preparation into the order.
For example: from the left to right in one line, the baking sheet-> the dry ingredients mixture for coating-> the stir-well chicken egg-> last will be the chicken breast meat nugget-size.
Or reserve order from right to left if you are left-hand.
Or you can place it into the diamond shape, the square shape.
Step 9: You need to follow the routine: take one chicken breast nugget-size meat-> dive it completely into the stir-well chicken egg-> take out-> dive it into the dry ingredient mixture for a coat-> place it in the baking sheet, tray. -> and then you just repeat the routine until you have done all with the prepared chicken breast meat.
Step 10: Place the baking sheet, tray into the over-> choose the baking option-> set up the baking temperature into 400 Fahrenheit degrees -> set up the baking time is 15 minutes. After 15 minutes of baking, you can add some extra minutes for golden the coat.
The Nutritional Fact for 4 nuggets per serving:
- Calories: 100
- Protein: 12 grams
- Carbohydrates: 7 grams
- Fat: 3.5 grams
In the end, you can eat it alone as a snack or you can combine the fat-burning chicken breast nuggets with other foods.
My Asian change
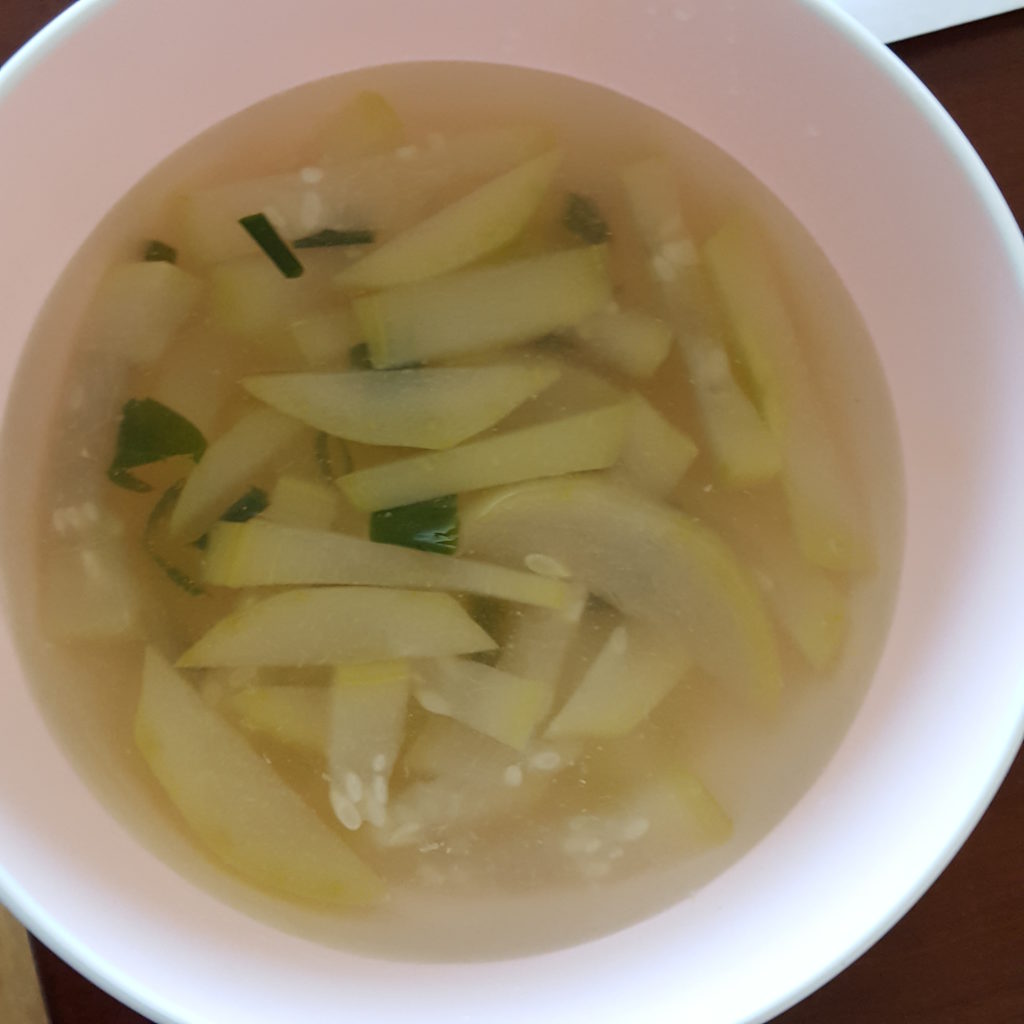
For me, I change a little bit the cooking step since I eat it with white rice and a bowl of calabash soup.

I choose to fry the chicken breast instead of baking like the Anabolic Muscle building cooking book. -.- And the after-work, the cleaning part is also harder than baking. I need to fish the fried dry coating sprayed on the oil’s surface. It turns into the black color because of the oil high temperature. Besides, I make some small changes during the cooking routine.
What I change is in step 9. My routine step 9 is: take a big bowl-> put the cut chicken breasts into the bowl -> add sea salt, pepper-> pour the stir-well yellow chicken egg into the meat bowl-> wash hands-> use the bare hand to mix it-> After a while for the mixture egg osmoses into the meat.
And then, put the fry pot on the gas stove. The reason I choose the fry pot is avoiding the jumping oil. -> adding some cooking oils (you can use corn oil, coconut oil, olive oil, etc.) -> It depends on you. You want to deep fry or just normal fry.-> and then just put the meat into the boiling oil.
After the meat is cooked and golden enough, I take it out-> put into a napkin for dry oily. Now I sprinkle the dry ingredient on top the chicken-> and then, arrange it into a dish.
If comparing the frying method with the baking, the dryness of the meat is the same. With the fry, the meat coating will be more crispy. However, it creates more work for cleaning the oil after cooking. You will need to fish all the small left-over coating that doesn’t stick well to the meat.
Tip to avoiding it: when you stir the chicken egg, don’t pour the water. Use extra one more chicken egg for glue more.
